Background
A telescope that uses two lenses to gather and focus light then magnifies the inverted image is called a refractor telescope. This is because as light moves from one media to another, like from air to glass, it bends, or as us scientists like to say, it refracts. This bending of light helps a two-lens system zoom in on distant objects. The light gathering lens at the far end of the telescope collects parallel light rays being emitted or reflecting off an object. The lens also creates a focused image in between it and the eyepiece lens. The eyepiece gathers the light that passes this focal point, magnifying an inverted image and allowing us to observe it with a closer perspective. Since this system uses two converging lenses, the eyepiece makes the diverging rays from the objective lens’ focal point parallel again so we can see it with our eye. The light gathering lens is responsible for the brightness of the image. The larger the aperture, the more light it can collect and incorporate into the image you can see through the telescope. The magnification of the telescope can be calculated by dividing the focal length of the light-gathering lens by the focal length of the eyepiece lens. Here’s an example!
focal length of light-gathering lens = 15 cm
focal length of eyepiece lens = 2 mm
magnification = 15 cm / 0.2 cm = 75

https://www.goodfreephotos.com/vector-images/refracting-telescope-vector-clipart.png.php
Materials
- A 1.5’’ diameter double convex lense with a focal length between 8’’-14’’ (light gathering)
- A 3/4’’ diameter double convex lense with a focal length between 2”-4” (eye piece)
- 2 squares of approximately 5”x 5” corrugated cardboard
- Two 10” cardboard tubes, one smaller in diameter to fit inside the other (you can cut one length wise and tape it to make it fit inside the other)
- Hot glue
- Scissors
- Exacto-knife
- Pencil
- Paint
Steps
- Paint and decorate each tube however you would like. Get creative!
- Trace a circle slightly smaller than the lens on a piece of corrugated cardboard and cut it out with the exacto-knife
- Between the two layers of the cardboard, the lens should fit perfectly and pop right in.
- Do this for both lenses.
- Next use the larger tube to trace a circle around the 1.5’’ lens on the cardboard and cut it out using an exacto-knife.
- Do the same thing with the smaller tube and the 3/4’’ lens.
- The lens holders should be the same size as the diameter of the each tube respectively.
- Hot glue the lens holder to the end of each tube (one lens per tube). The cardboard lens holder should sit right on top of the tube, but if you want to be fancy you can trim it so it fits inside the tube.
- After the glue dries, slide the tubes together with the lenses on opposite sides and you have yourself a functioning telescope! Adjust the focus by sliding the tubes together or apart.
Build your own Galileo Telescope
Background

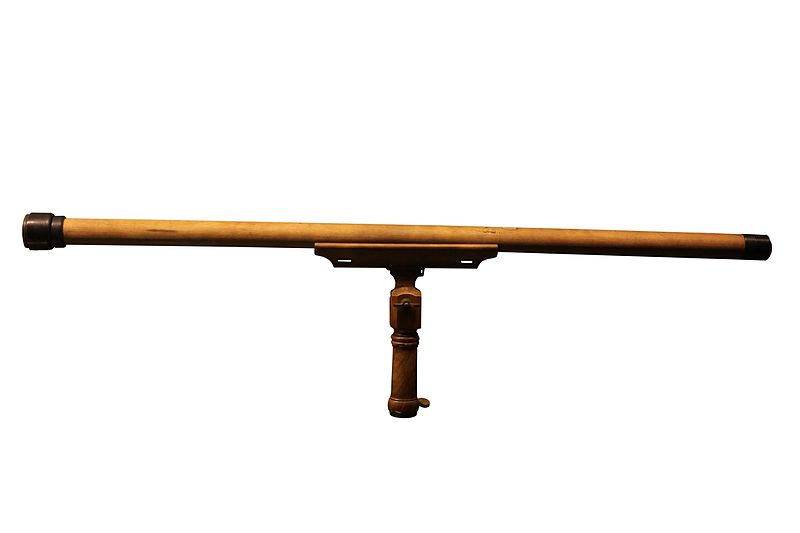
Back in 1609 Galileo’s two-lens refractive telescope was groundbreaking technology. Of course today our telescopes are far more advanced, but considering most people in that era still believed the Sun orbited the Earth, his invention was undeniably profound. 400 years later the scientific community still finds inspiration from Galileo’s work. After all, he was able to make accurate astronomic observations with his telescope and you can too!
The Galileo Telescope utilized one convex lens for the objective lens and one concave lens for the eyepiece. The objective lens gathers light and creates an image on the eyepiece. The eyepiece then refracts that light into an image that is the same size as the lens of your eye. This image forms before the light from the objective passes through its focal point so the image remains upright. You can make your very own Galileo style telescope using this kit manufactured by Explore Scientific. It can be purchased directly from their website or found on Amazon.

